So, you’ve heard about concrete polishing. Maybe your neighbour won’t shut up about their shiny new floor, or you’re just sick of looking at your dull, dusty floor. Either way, you’re curious, but also slightly intimidated. What actually happens during a concrete polishing job? Is it loud? Messy? Complicated?
Let’s break it down, no fluff, no jargon, no headaches.
What Is Concrete Polishing, Really?
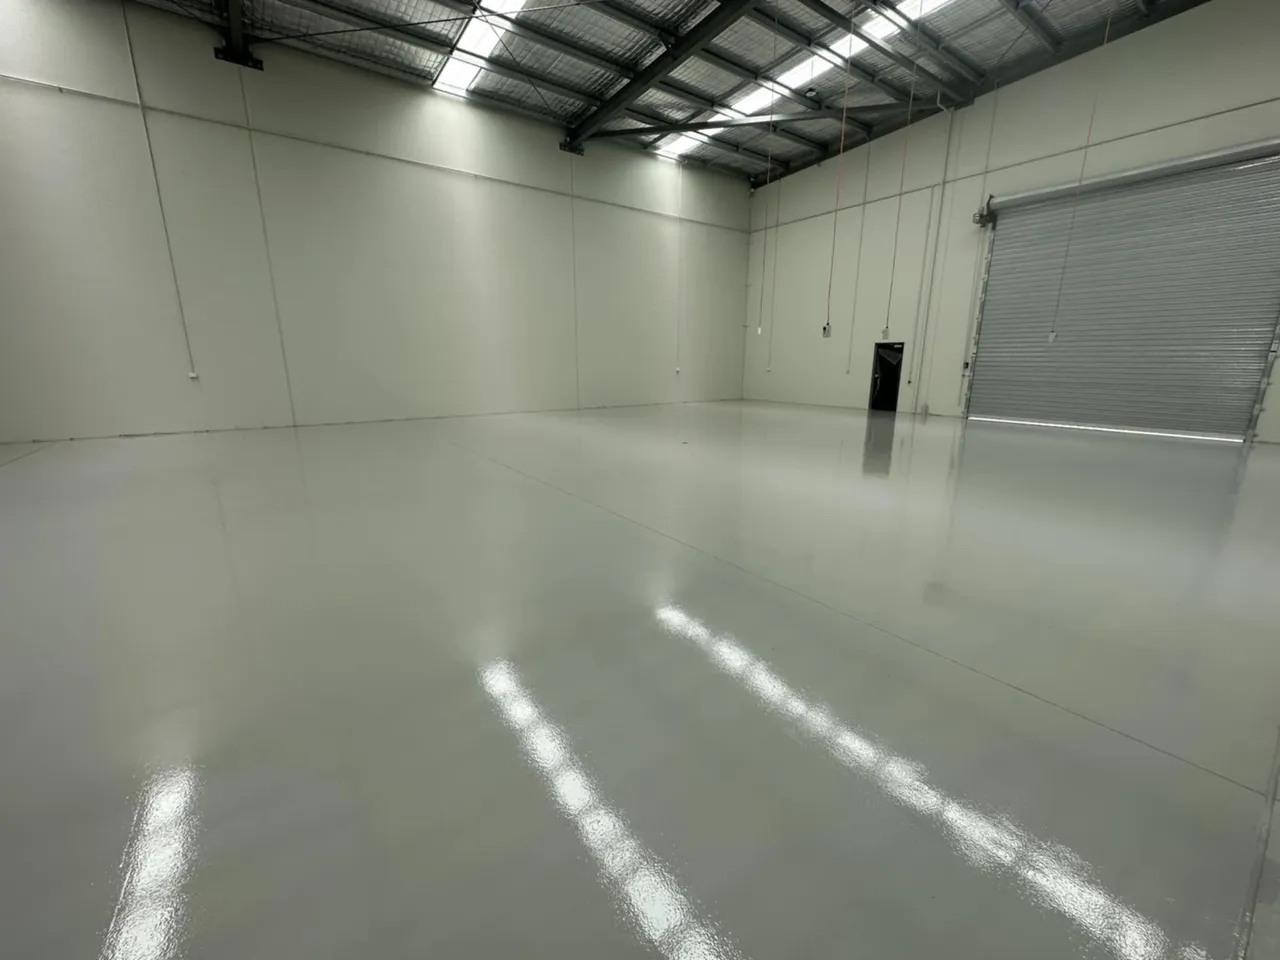
Concrete Polishing is the process of grinding down your concrete slab with industrial strength machines until it’s smooth, strong, and shiny. It’s a bit like giving your floor a facial, except instead of cucumbers on your eyes, you’re getting diamond embedded tools on your concrete.
A polished concrete floor is tougher, easier to clean, and way more resistant to stains and wear than untreated concrete..
Step 1, We Rock Up and Check Things Out
First things first, we assess your concrete. Is it new? Is it old? Has it been through the wars? We’re looking at its condition, hardness, and if it’s got any coatings or adhesives that need to be removed.
If it’s brand new, we’ll need to wait a few weeks, concrete needs time to cure before we can polish it. If it’s older, we’ll see what kind of prep work is needed.
Step 2, The Real Grind Begins
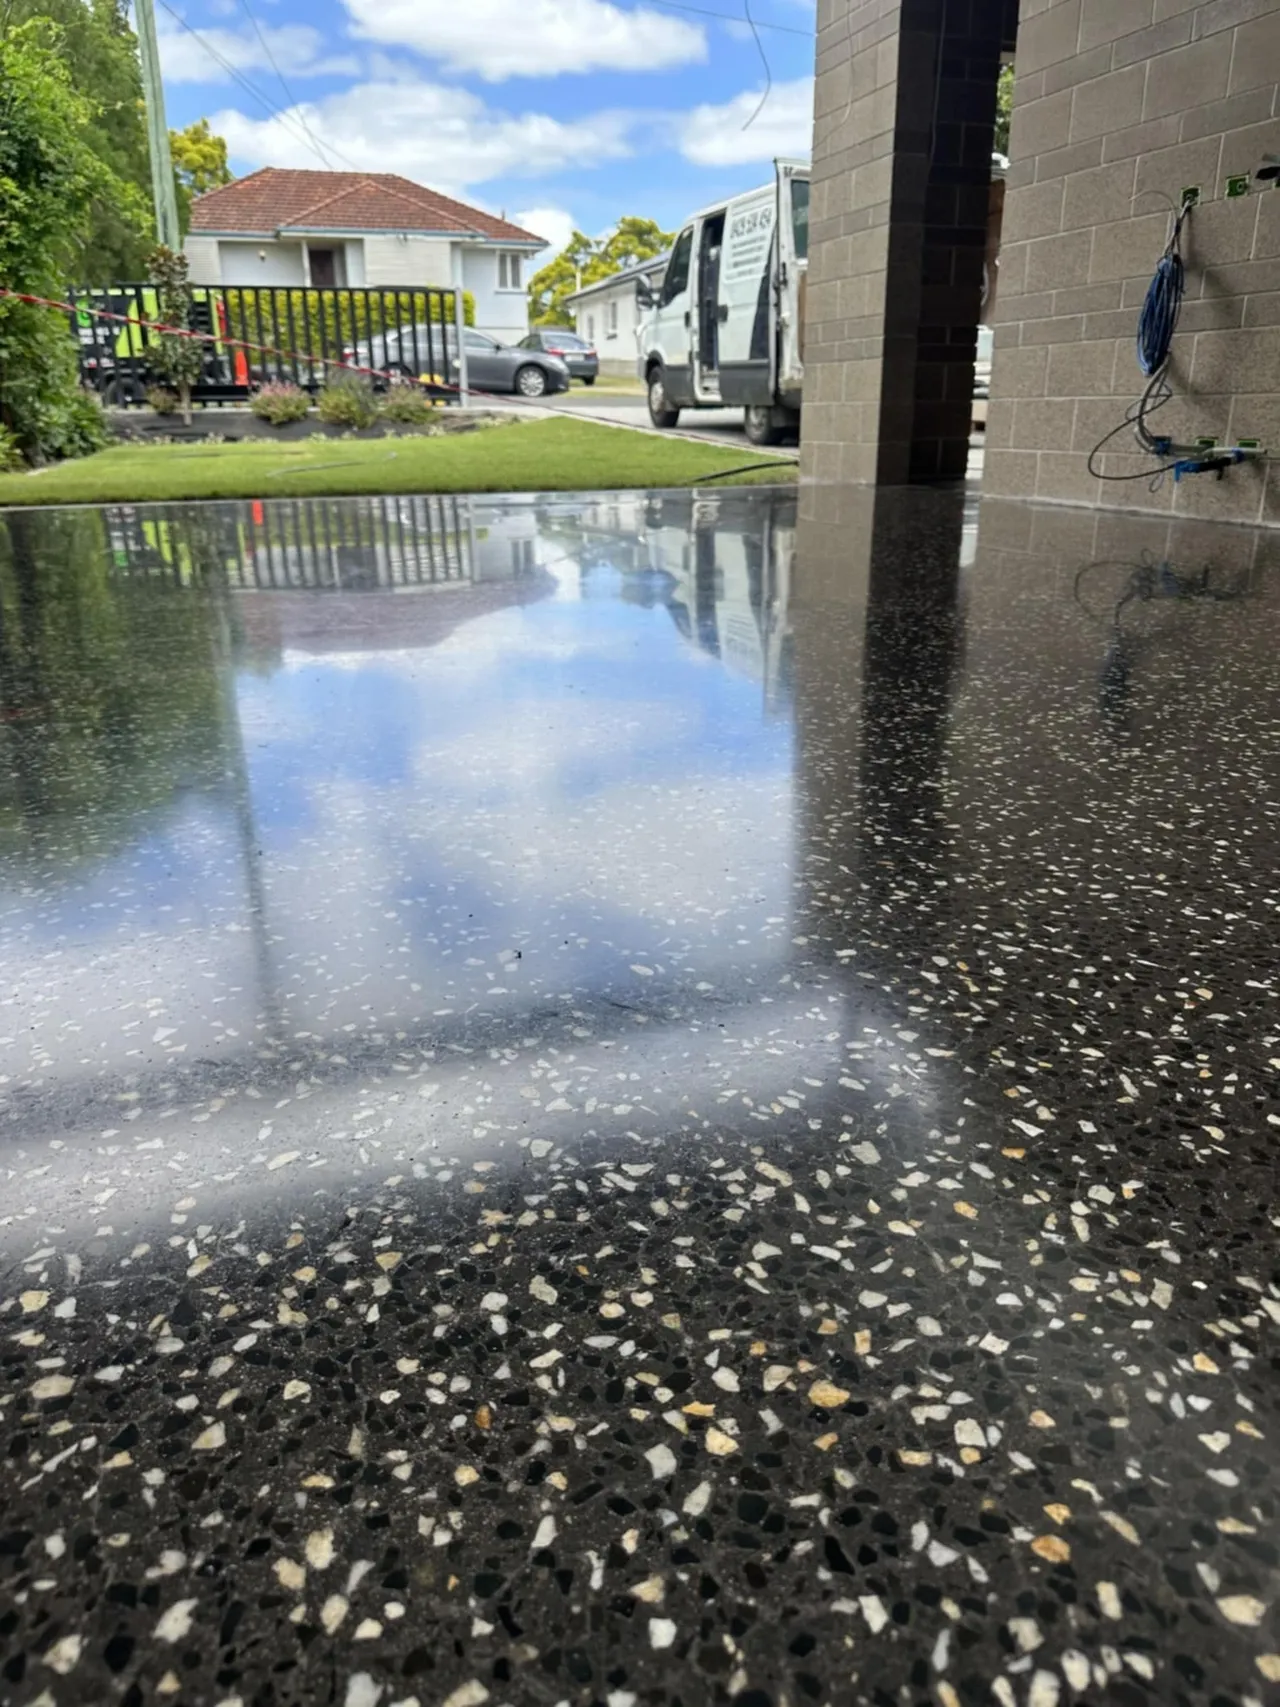
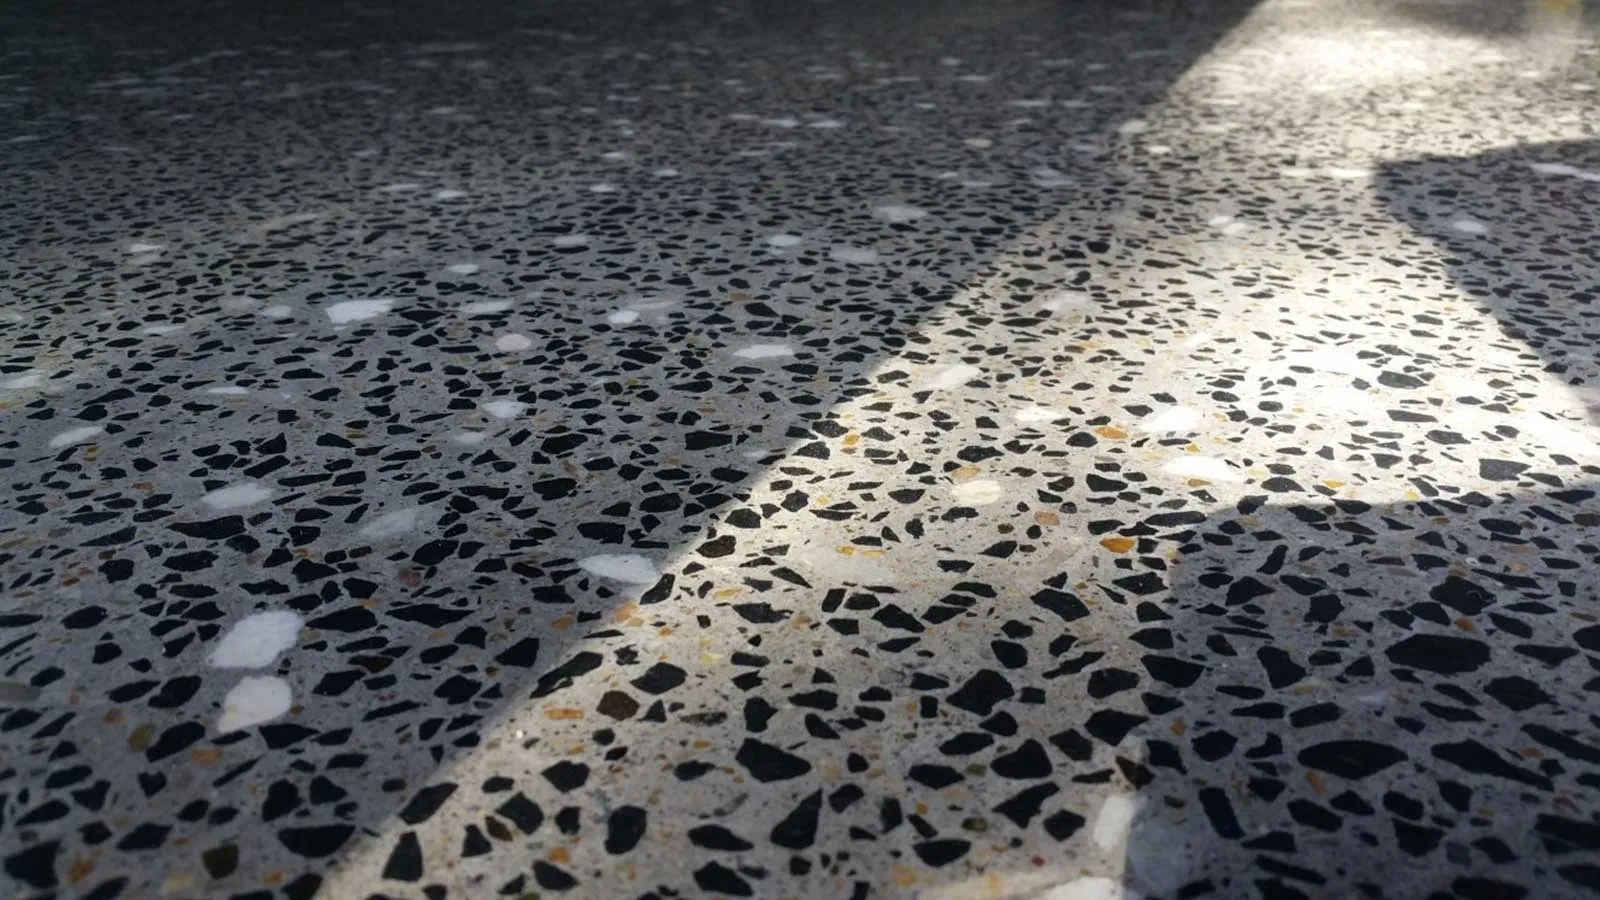
Now we bring out the big guns, heavy duty grinders fitted with diamond tooling. These bad boys remove the top layer of your concrete to expose the raw surface underneath.
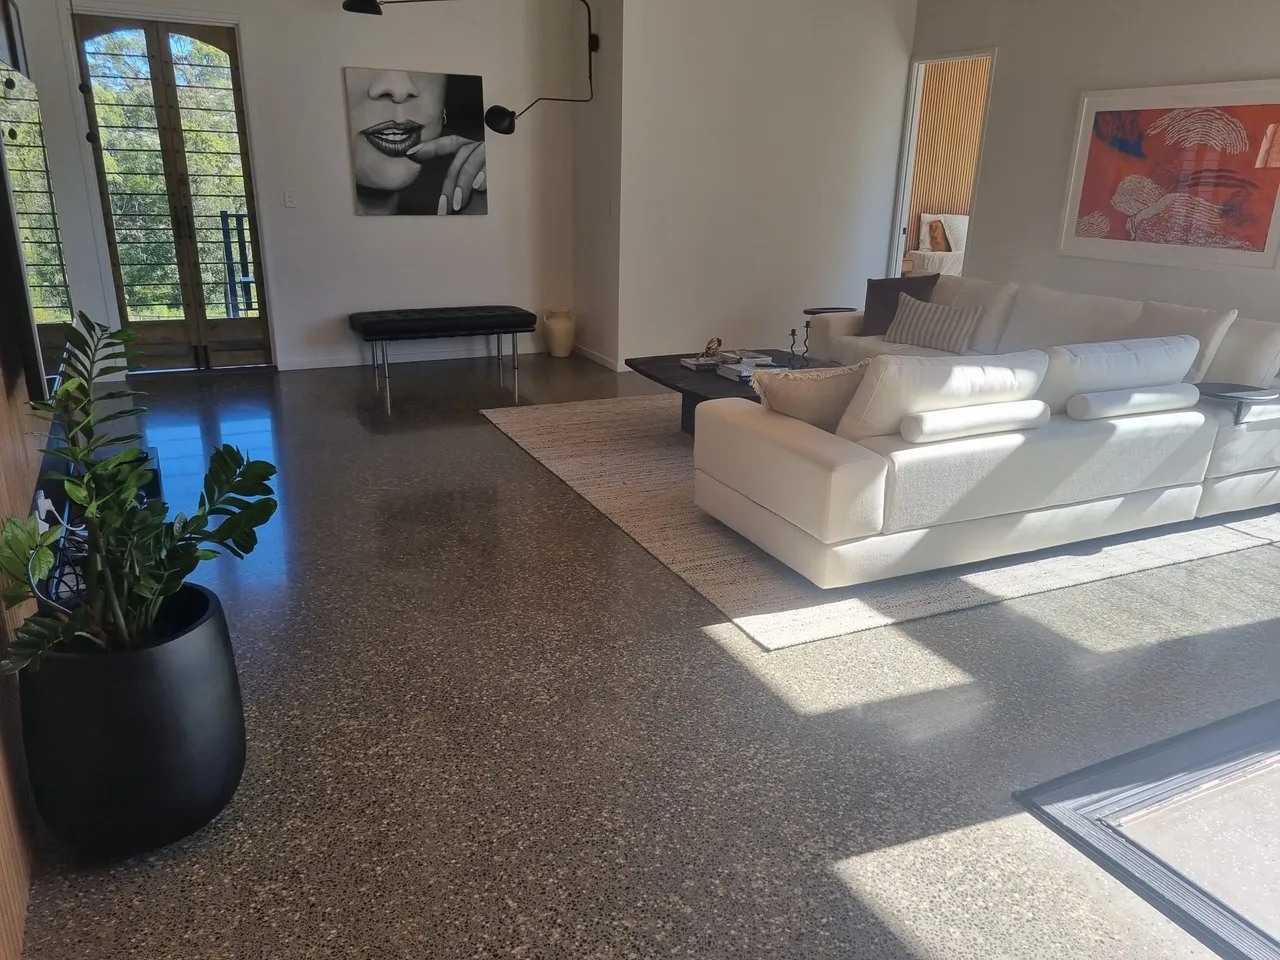
Depending on the look you’re going for, we might grind a little… or a lot. Want that clean, uniform finish? Light grind. Prefer a bit of personality with exposed aggregate? Deeper grind.
Concrete polishing isn’t one size fits all, it’s customised to your space and your vibe.
Step 3, Repair and Prep
Got a few cracks or dodgy patches? No problem. We’ll fill them in, smooth them out, and get your surface ready for polishing. This step is like patching up your floor before giving it a glow up. You wouldn’t paint over a cracked wall, the same rules apply here.
Step 4, Polishing Like a Pro
This is where the magic happens. We switch out the rough grinding tools for finer grits and begin the polishing process. Think of it like sanding, but with diamonds… and for concrete.
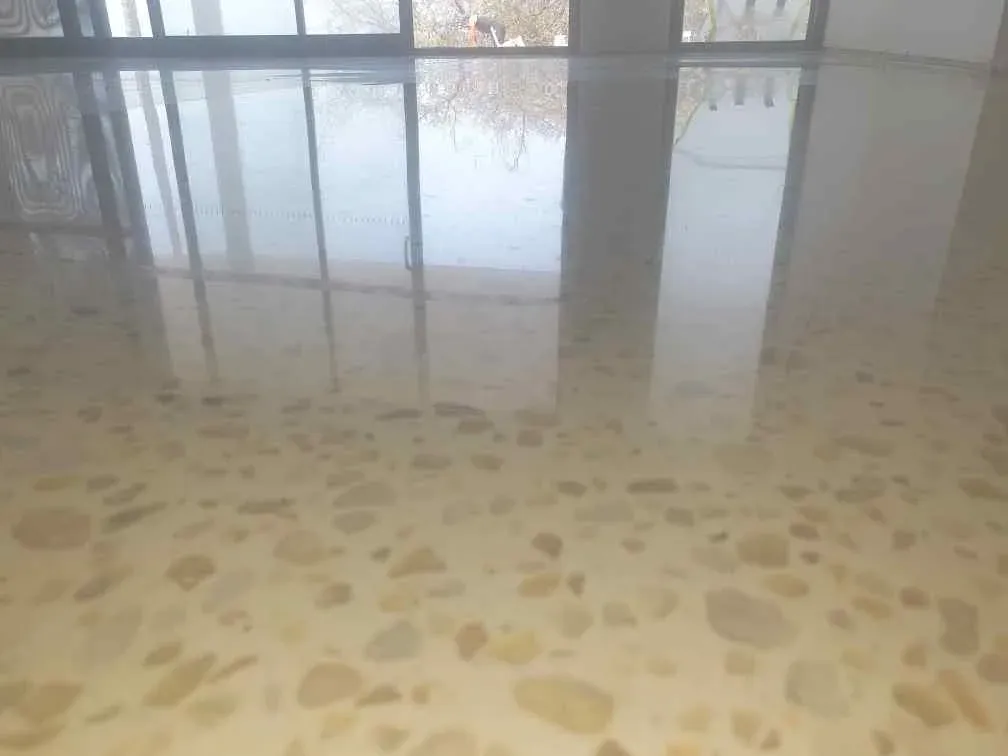
We work through multiple passes, finer and finer, until your floor is smoother than a sales pitch. The more passes we do, the glossier it gets. You want matte? Sorted. Prefer a high gloss finish that reflects your ceiling fan? Done.
We also apply a densifier, a liquid that sinks into the concrete and hardens it from the inside out. Makes it stronger, more durable, and resistant to scuffs and spills.
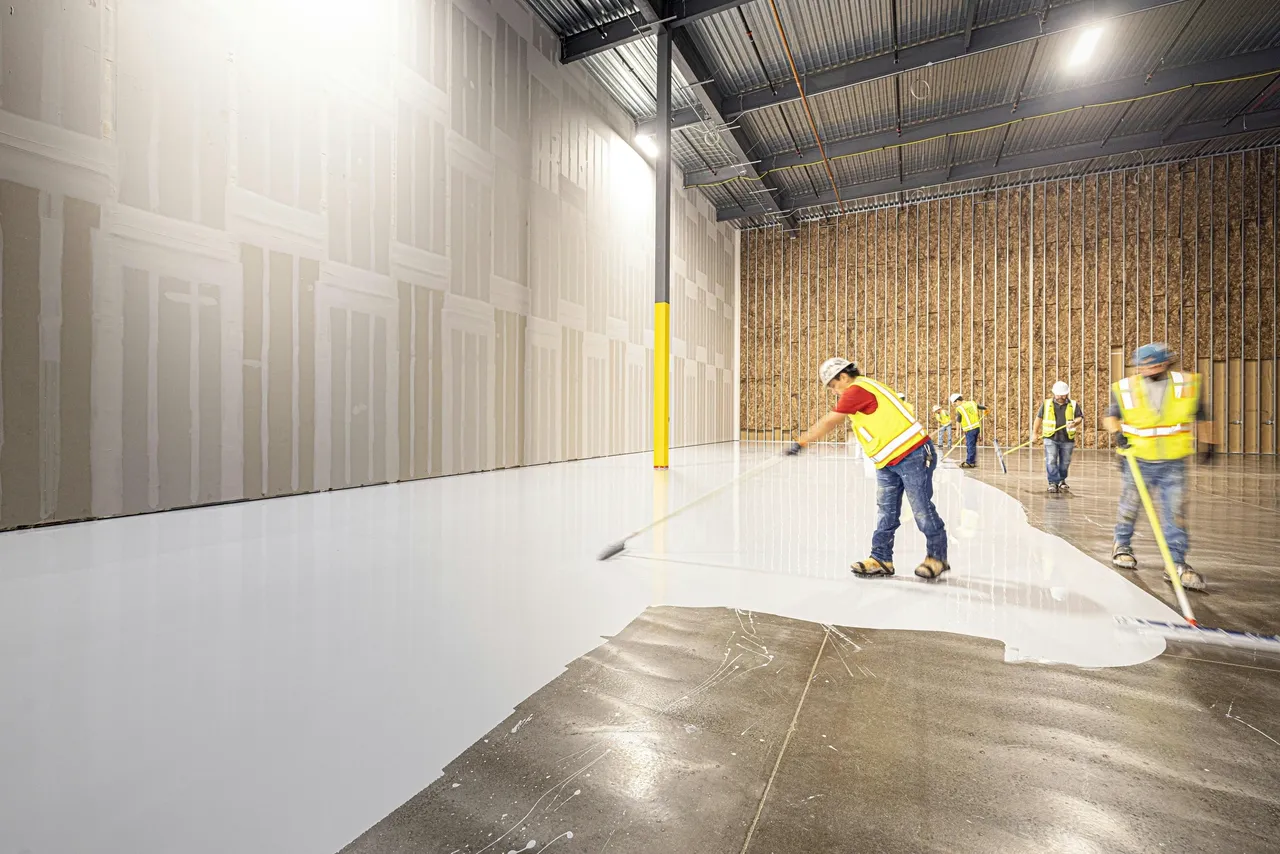
Step 5, Seal the Deal
Once everything’s looking polished to perfection, we apply a penetrating sealer to lock it all in. This helps repel liquids, dirt, and those mysterious footprints that always appear out of nowhere.
Bonus, sealed polished concrete is super low maintenance. Mop it occasionally, and you’re golden.
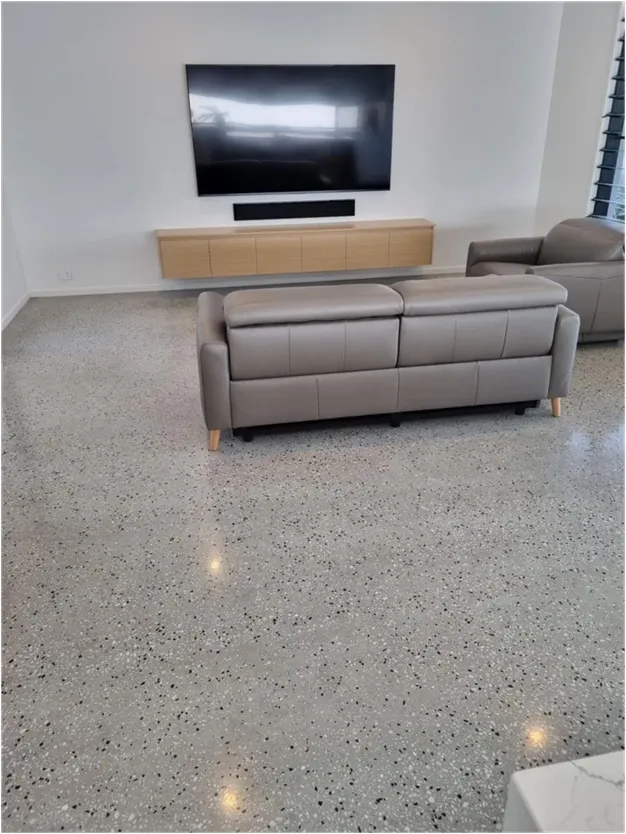
Step 6, You Admire It (and Maybe Take a Few Photos)
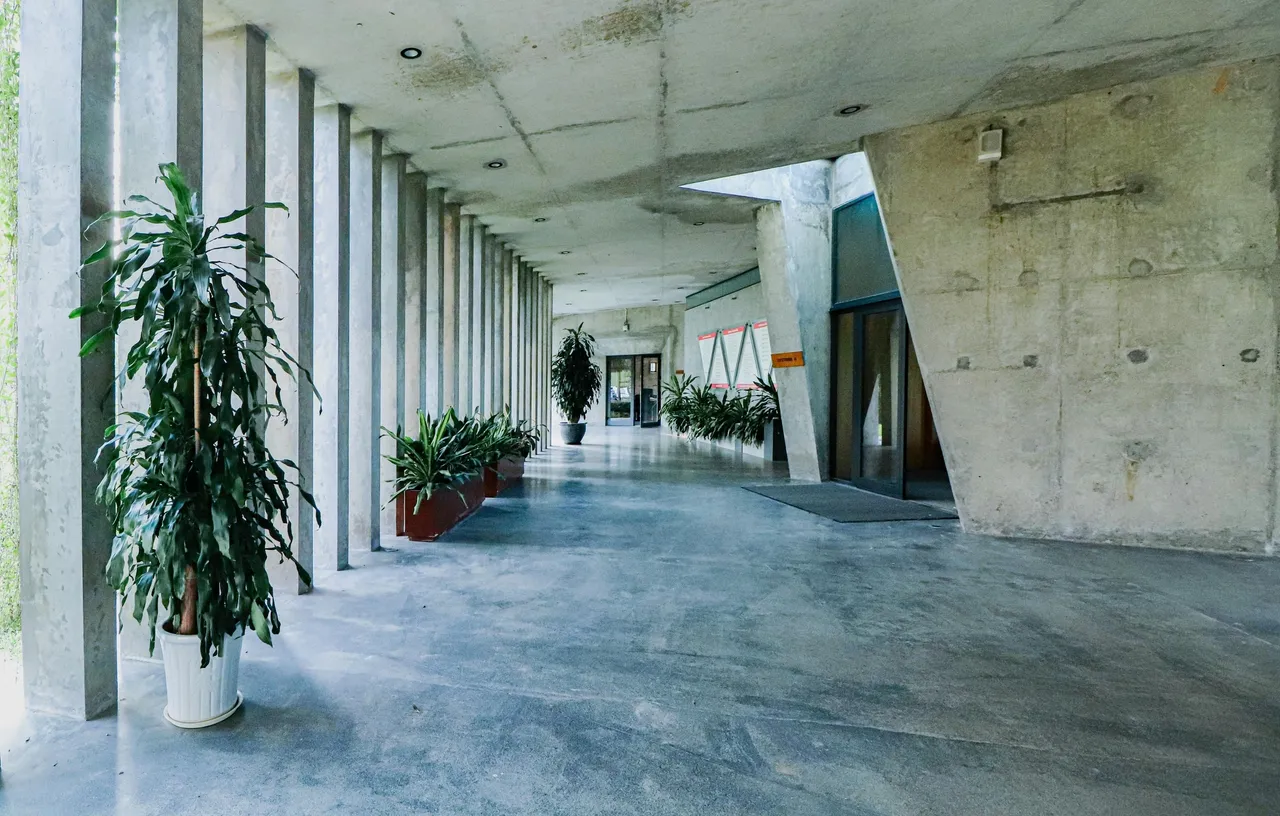
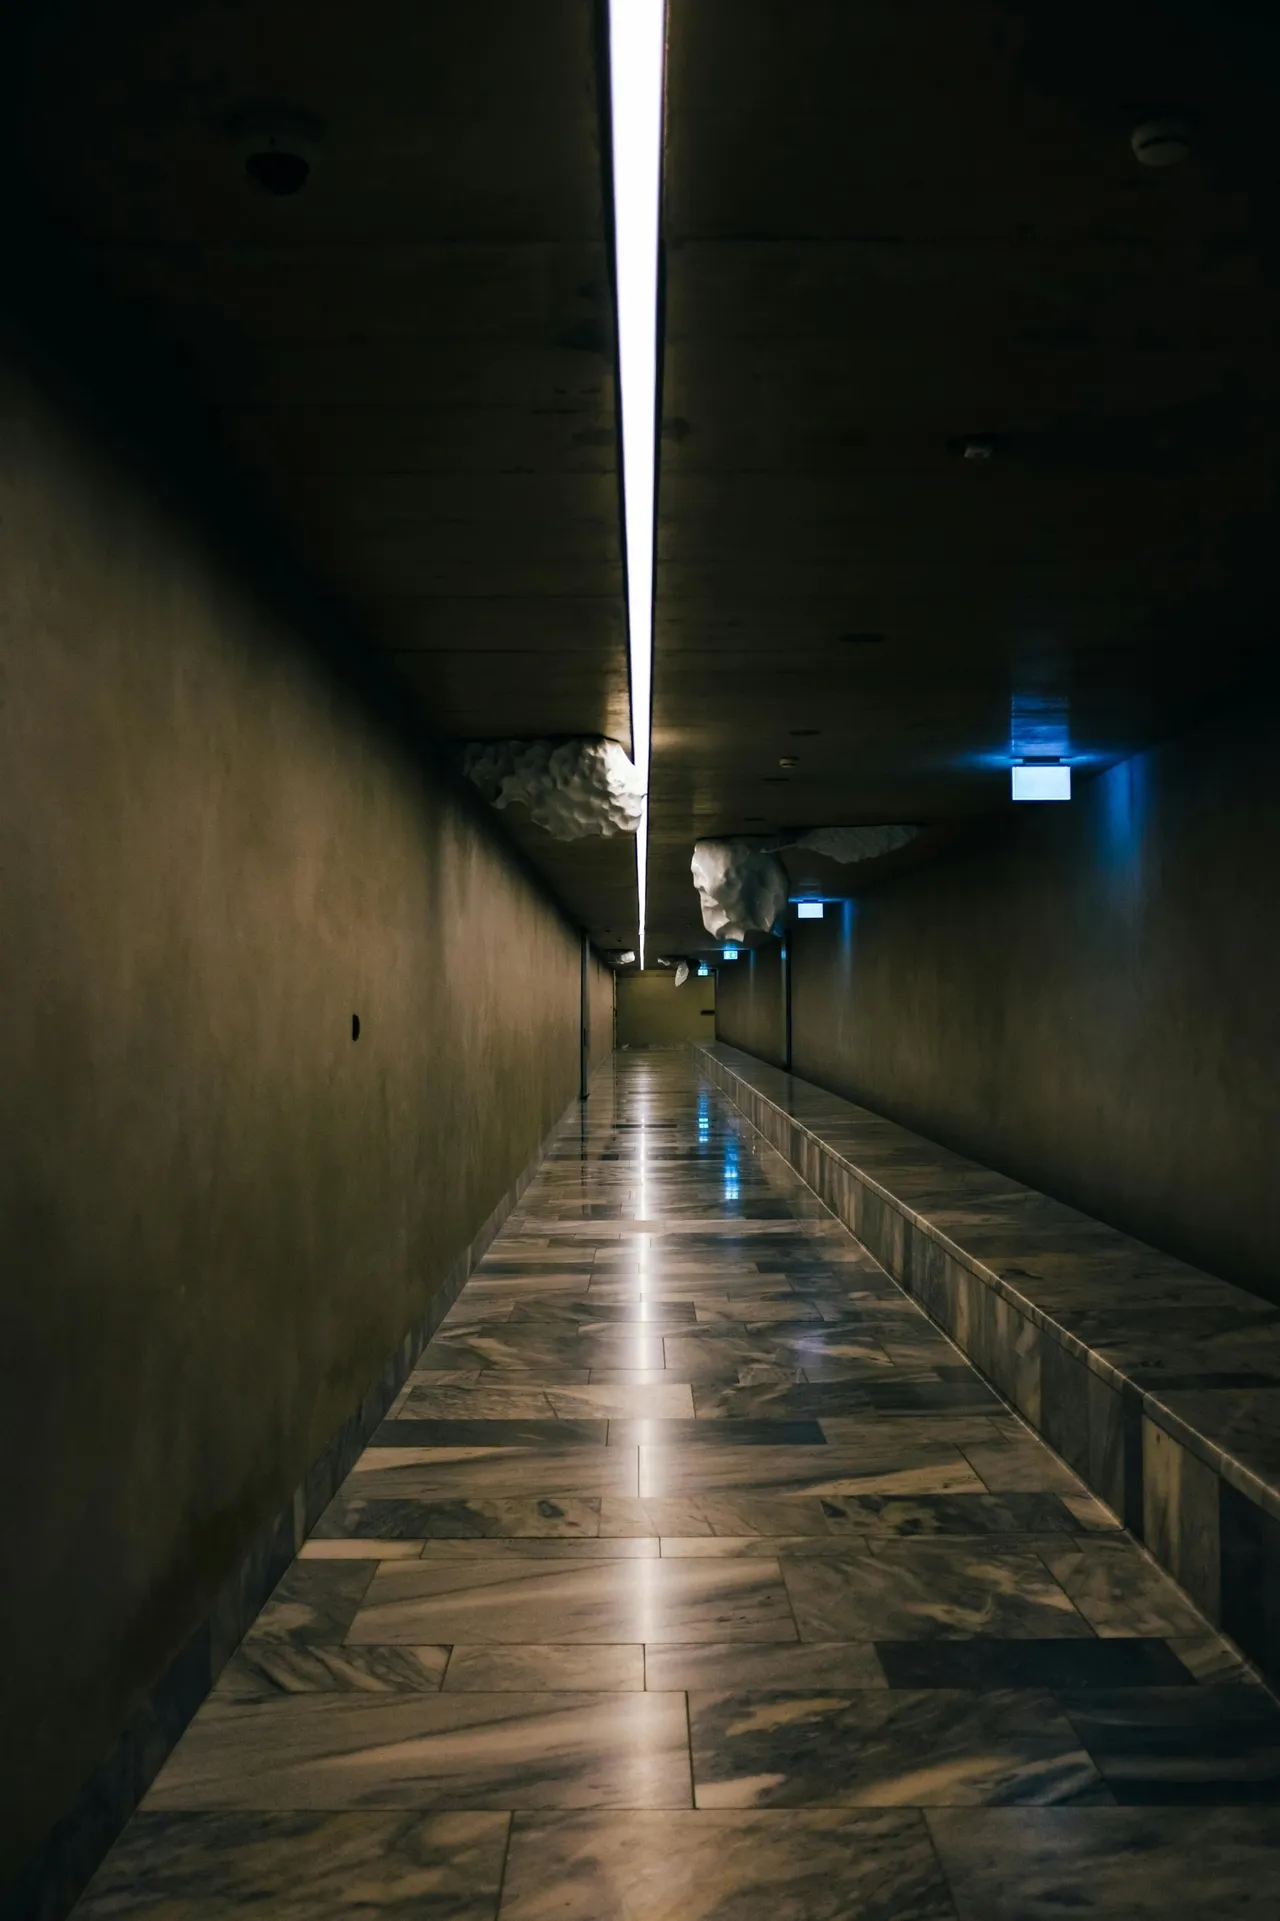
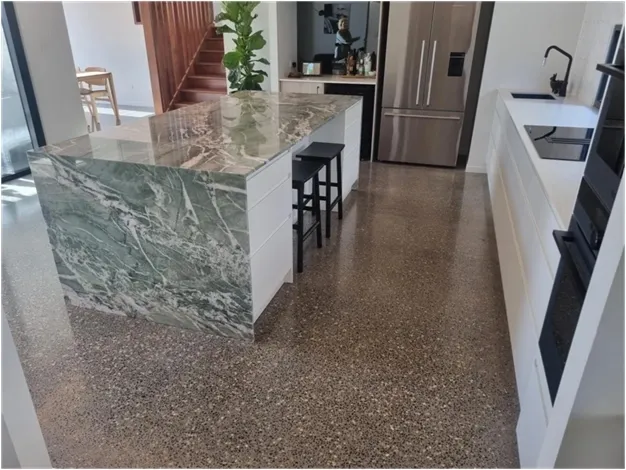
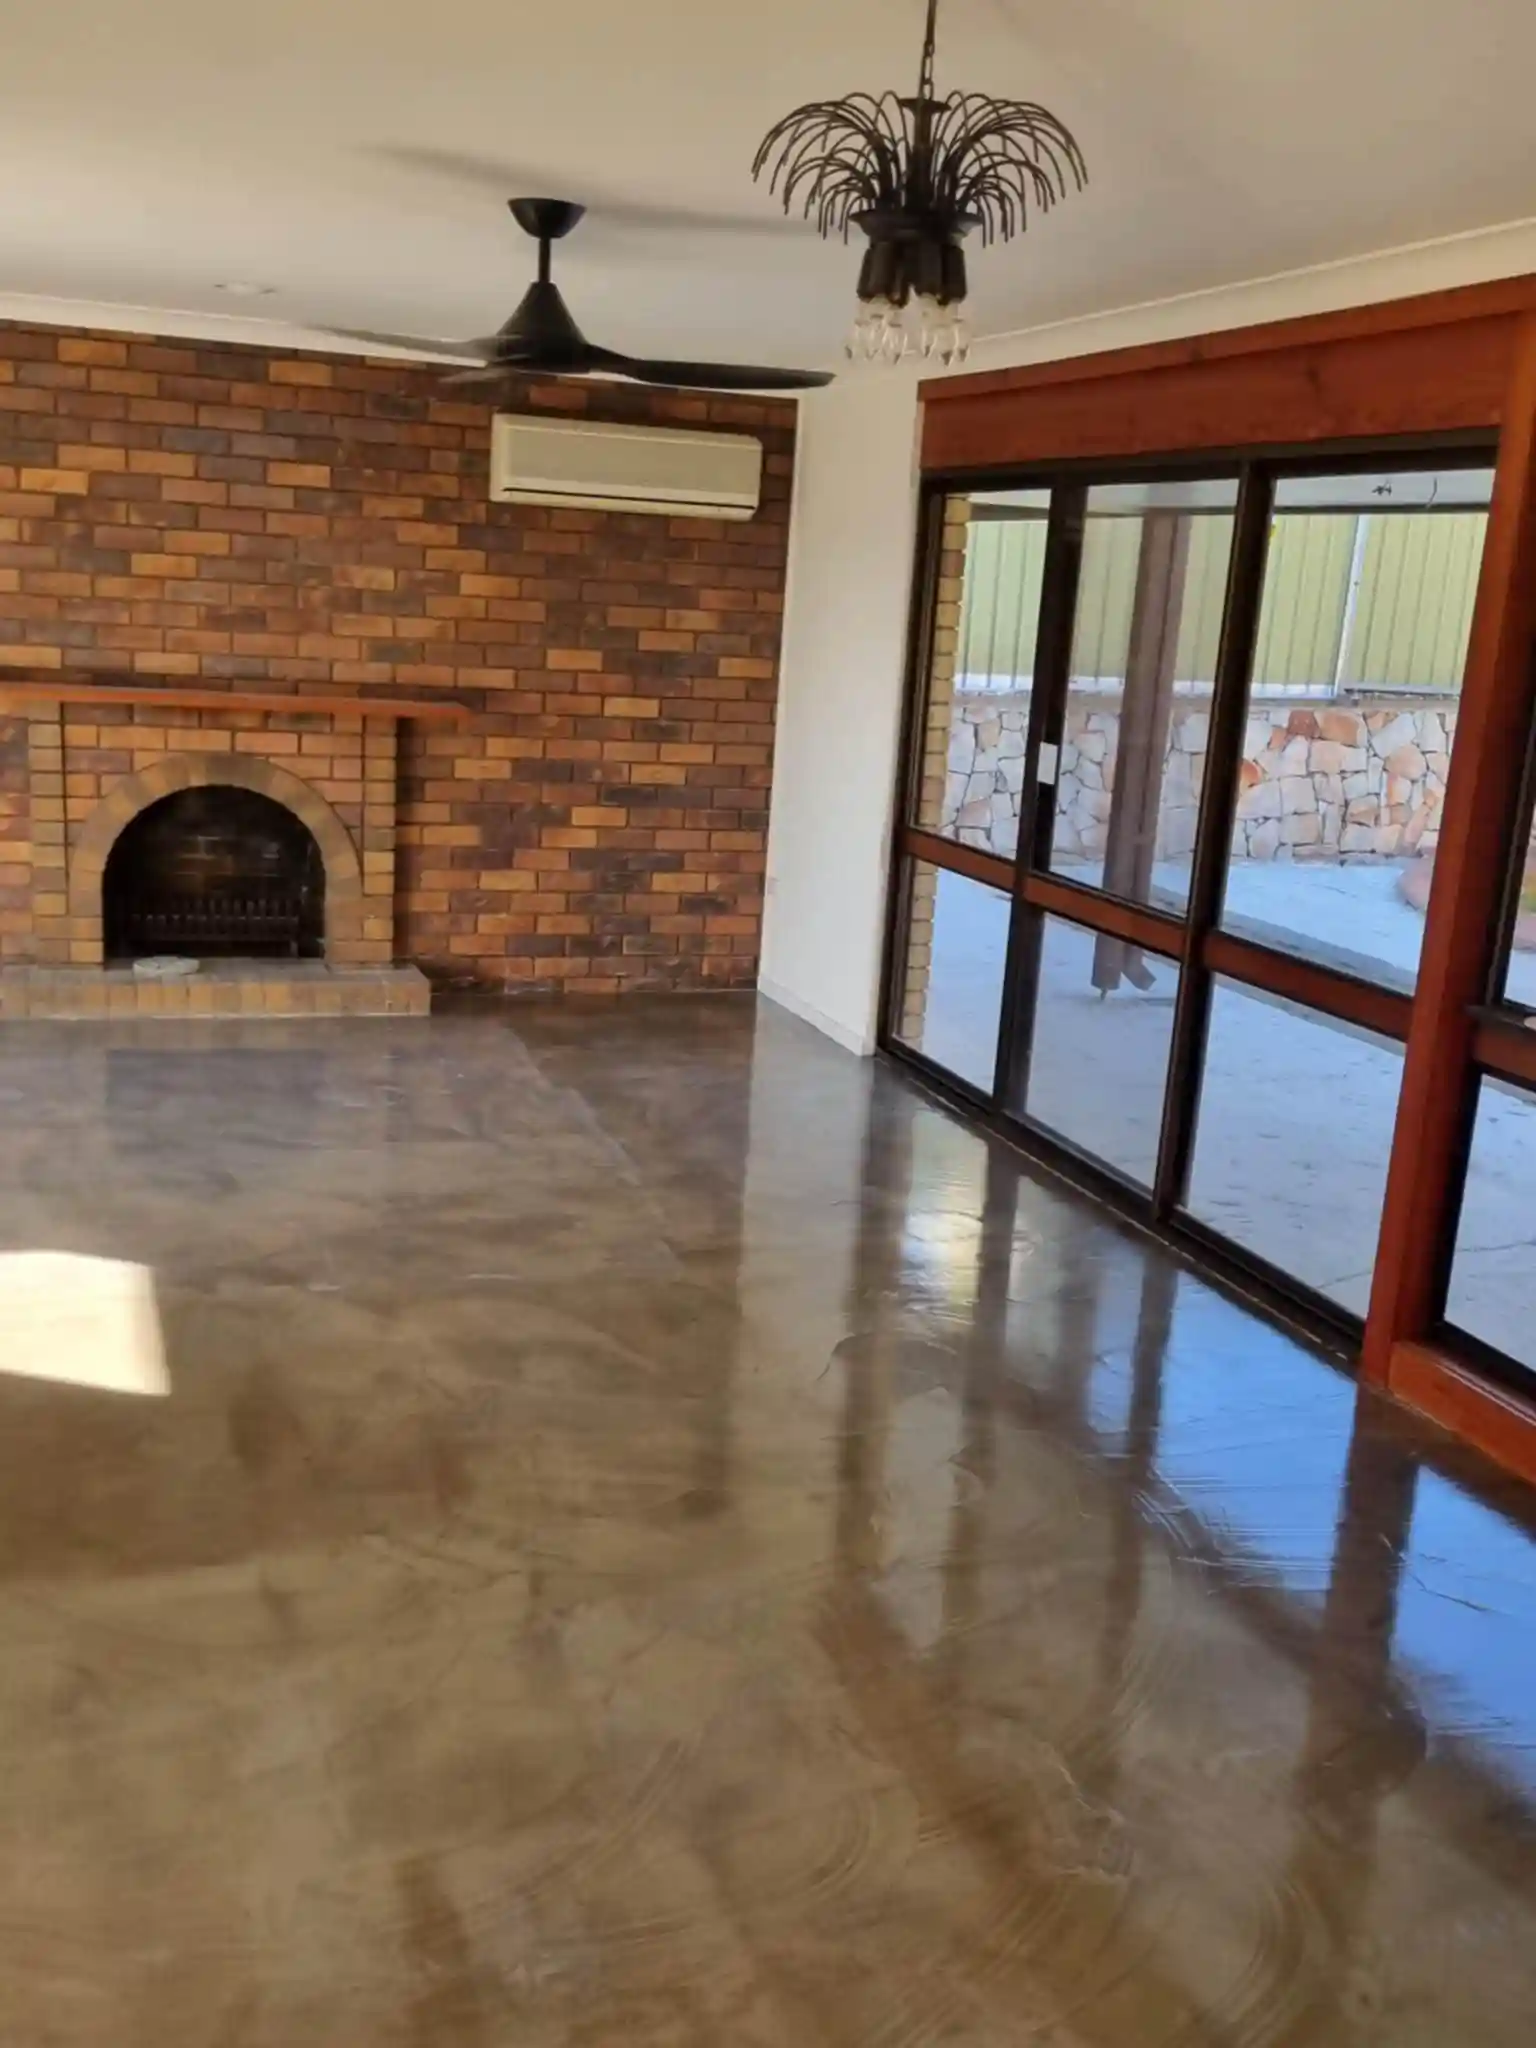
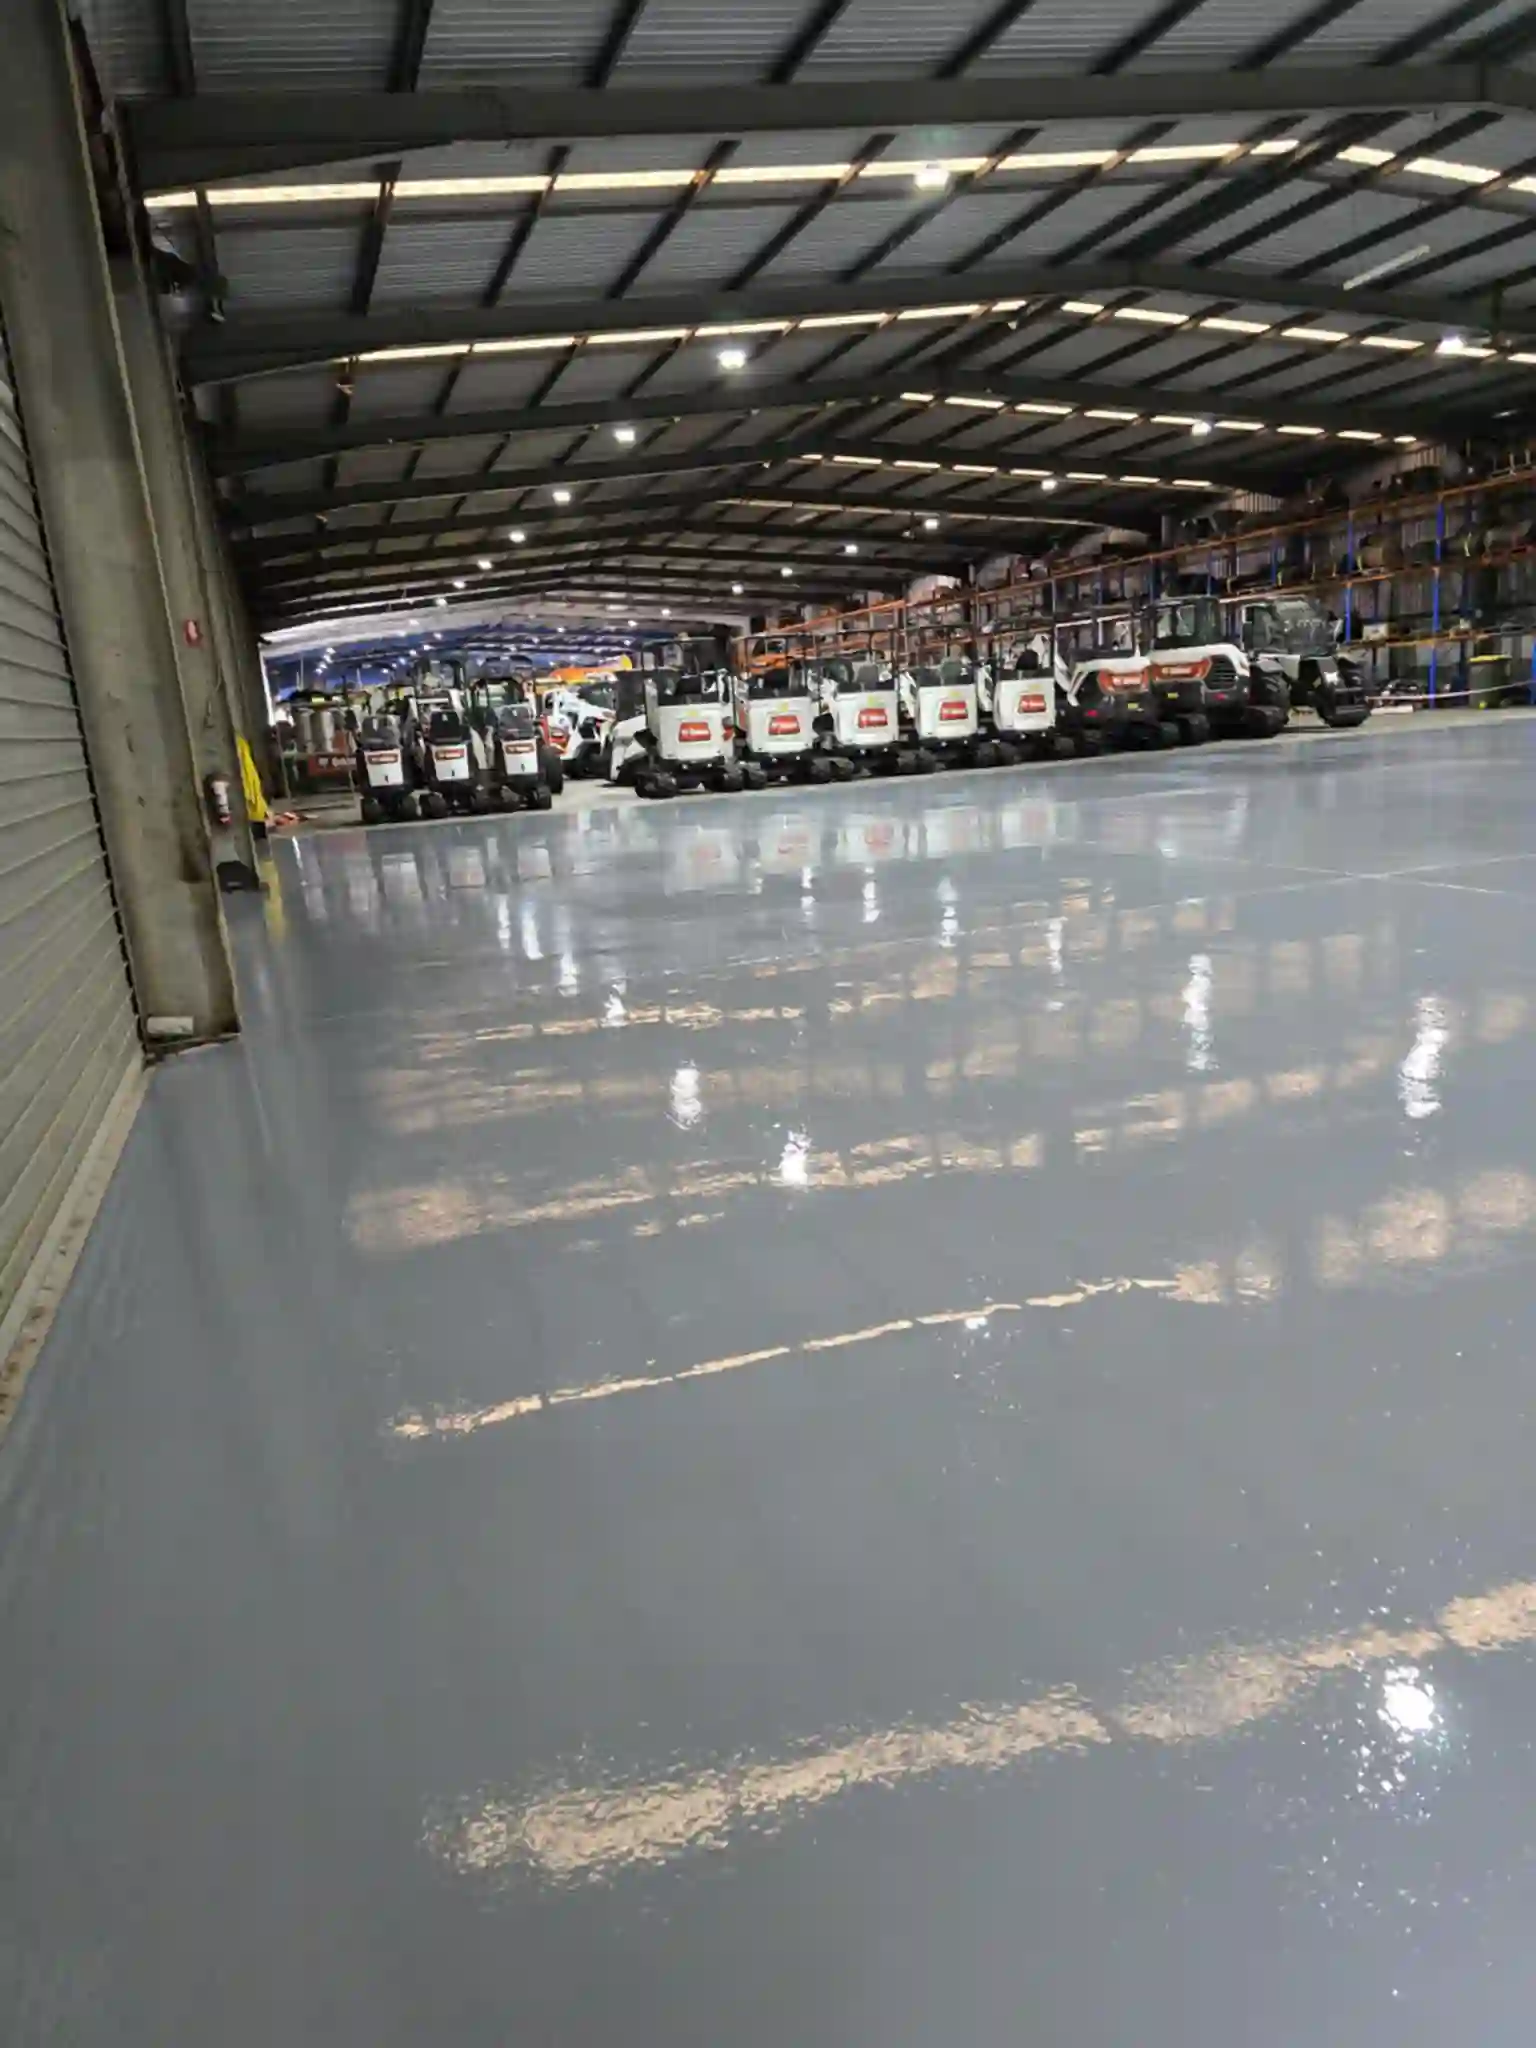
That’s it. Your old concrete floor is now a slick, polished, professional looking surface that’ll last for years. Whether it’s your living room, showroom, or warehouse, it’s now the kind of space you want to show off.
And yes, you’ll probably get a few “wow, what did you do to your floor?” comments.
Why Concrete Polishing Is a No Brainer
Concrete polishing is one of those upgrades that pays off every single day. It’s not just good looking, it’s tough as nails and easy to live with. No peeling, no flaking, no mucking around with carpets or tiles. Just a floor that works hard and looks even better.
Ready to Polish Things Off?
If you’re thinking about upgrading your concrete, don’t overthink it, just get in touch with Grind and Shine and we’ll walk you through the options.
Whether it’s your home, business, or industrial space, we’ll tailor a concrete polishing solution that actually suits your needs (and doesn’t just look good in photos).